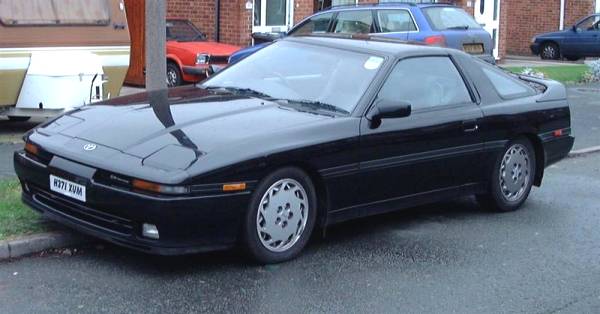
| So on December 29th of 2002, both Marcel and me took the el cheapo airplane (easyjet) from Amsterdam to Liverpool to meet up with Mark the seller. Here is a picture of the car he picked us up with. It was a full options black JZA70, lowered and leather interior. The bad sides on it was it had an automatic transmission and stock rims. |  |
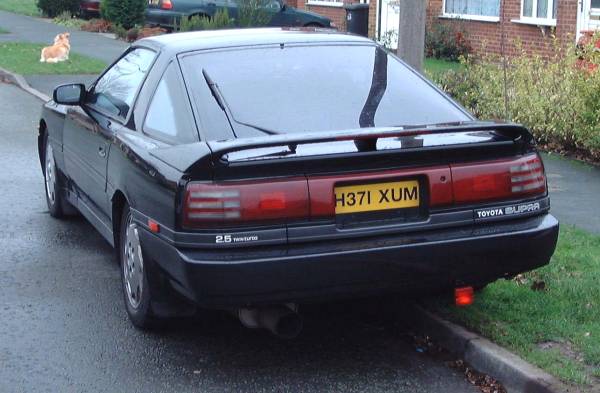
 | The rear looked awesome. The car had the newer style taillight setup, which was never sold in Europe because the big euro license plates don't fit. Marcel's car already has this taillight setup, but his lights were full of water and the middle plate had a big crack, so we could use this new taillights setup.
The car was lowered also, with KYB shocks. Good setup. The exhaust was a mess, but hey, can't have everything can you! |
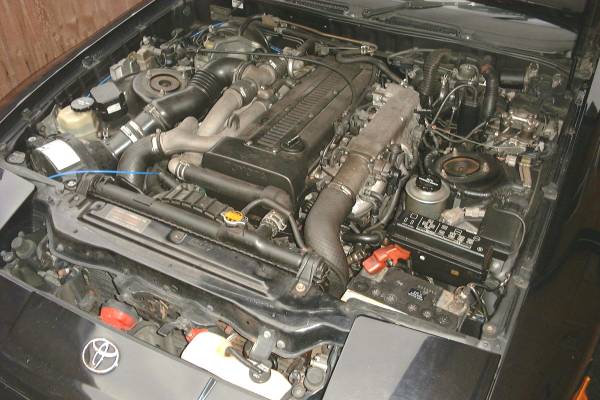
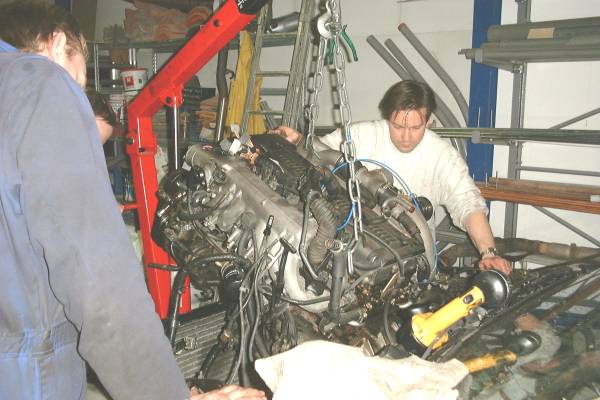
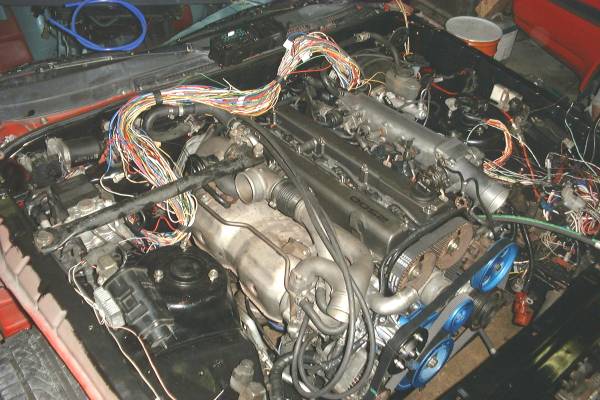
| We drove the car to Harwich, which was less than 5 hours trip. We were in time to catch the evening boat, instead of the night boat we planned for. Around 1 AM we arrived back home, Marcel dropped me off at my house and the next day we could start pulling the engine and the other parts. Here is one last picture on the engine in it's original place, so that we know where everything goes! |  |
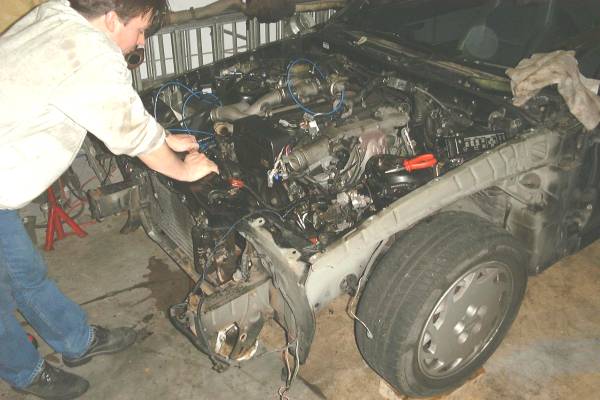
 | We took off the bumper and the fenders to easily get to the engine and to prevent them from getting scratched. Our plan is to convert marcels red car to black with all these body panels, as his car has multiple colors because of weather influence. The red paint has turned pink on the right fender, his bumper is ugly and hood has weird dents in it. With all the black parts we can turn his car in a way better shape! In the picture Marcel is checking the engine to see if it comes out by itself. |
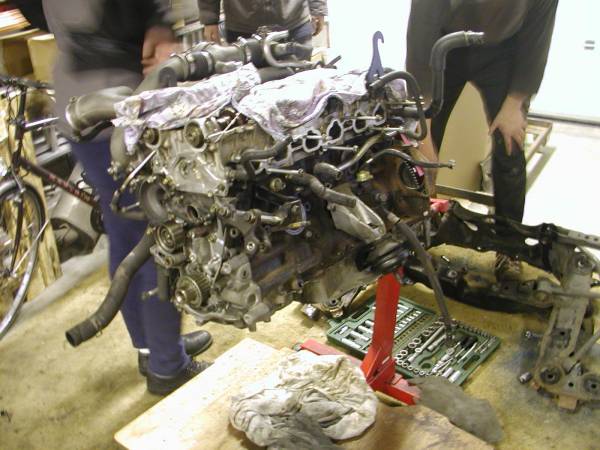
| Pulling the engine is not that difficult. You do this just like the 7M engine, with the transmission. There is less room between the firewall and the engine so take good care not to damage anything. |  |
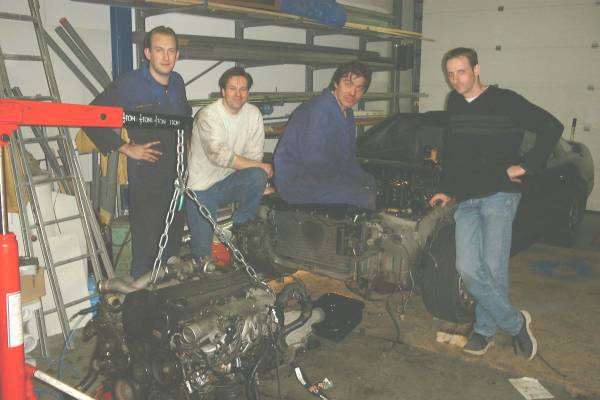
 | The engine is out of the car. Easy job. From left to right it's me, Marcel, Jeroen and Leon. |
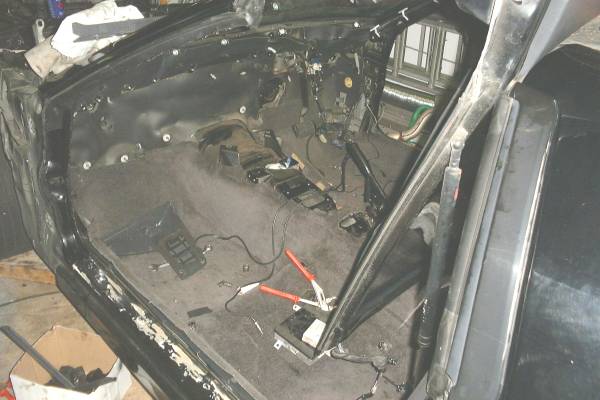
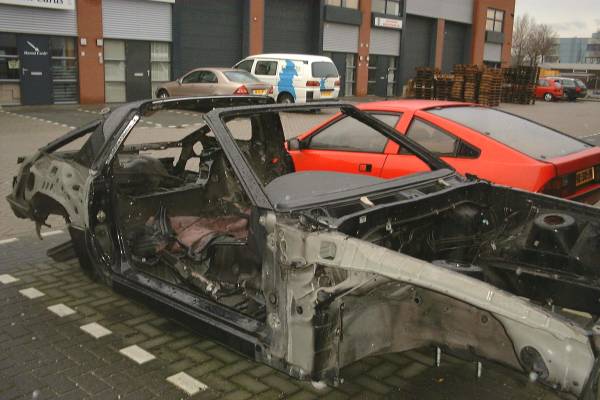
| We continued with stripping the car down. The seats where removed and so was the dash and all upholstery. We took out the doors, the windscreen. Everything. |  |
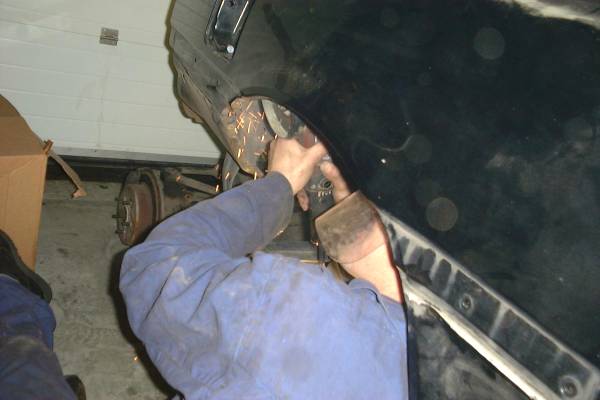
 | Even the rear fenders of the car where removed. Jeroens Supra had a lot of rust on these pars and it's not every day we have a good donor car available! |
| And this is what is left of the car. It's just one piece of old iron, with a dashboard which is useless to us. Very cool detail is we had 15 euro in return for this when we took it to the old iron company. They melt it and make new cars out of it, hopefully another Toyota! But maybe it's second life will become a t-spoon. |  |
 | We took the engine on the engine stand and removed all parts on the intake side and on the front for cleaning. The engine will get a new timing belt, 550cc mkIV fuel injectors and new gaskets and seals. The plastic caps will be painted the bluish 'club colors' and the aluminum intake will be polished. I sourced a set replacement turbos for this engine, as the car smoked badly while idling (possible oil seals of the turbos where gone), but these need to go on the engine later, as I can't have them within a week (shipping from the states). |
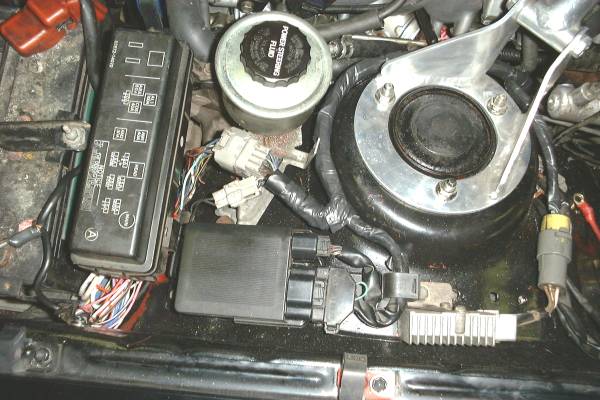
| One of the main obstacles with building in a 1JZ in our cars is lengthening up the wiring harness. The ECU on the japanese spec cars is on the left hand side, the same side the harness enters the engine. Our ECU is on the right hand side (behind the glovebox), so we need to lengthen up the harness by about 3 feet. I decided to lengthen up the harness only and use the dashboard connectors of the JZA car to solder in our car. Lengthening up is an easy job and the few connectors I needed I had in stock laying around somewhere in a box. |  |
 | This is the square connector under the dash of the 1JZ. It has 15 pins. The pins have the following meaning:
| 1. White - Red | Progressive power steering + |
| 2. Black | Heater control valve switched to ground |
| 3. Black - Red | Switched +12v from fusebox (EFI) |
| 4. Yellow | Fuel pump control relay coil |
| 5. Black - Blue | Start signal for starter (fat wire) |
| 6. Green | Signal for circuit opening relay |
| 7. Black - Red | FP signal checkbox from fuel pump relay |
| 8. White - Green | Progressive power steering - |
| 9. Blue - Red | A/C signal from A/C ECU to engine ECU |
| 10. Black - White | Starter signal for NSW (fat wire) |
| 11. Grey | IGSW signal from ignition fuse |
| 12. Red - Blue | O/D signal fro Cruise control from ECU |
| 13. Red - Green | SP2 signal from ECT for cruise control |
| 14. Black | Ignition + for ignition coils and injectors (FAT) |
| 15. White - Blue | To Fan ECU |
|
The white connector pictured here on the right, is for the main signals to the car. The pin out is:
| 1. Brown | AB (airbag) signal check box |
| 2. Green - Orange | ECT Power switch |
| 3. Red - Yellow | trip counter signal (white-red) |
| 4. Black | L1 |
| 5. Green - Yellow | Solenoid 2 from ECT to Cruisecontrol |
| 6. Violet | Ts signal checkbox (TEMS) |
| 7. Yellow | RR- rear ABS speed sensor |
| 8. Black | RR+ rear ABS speed sensor |
| 9. Yellow | Oil level light switch |
| 10. Light Green- Red | Auto gearbox indication "2" |
| 11. Blue | Check signal cruise (Tc) |
| 12. Orange | ?? |
| 13. Grey | O/D signal (not sure) |
| 14. Red | L2 |
| 15. Red - White | L3 |
| 16. N.C. | N.C. |
| 17. Blue - Yellow | Rear speed signal for ECT from ABS |
| 18. Black | IG- (RPM) |
| 19. Red - Yellow | ELS signal |
| 20. Red - Black | PSEN for ABS |
| 21. Blue - White | From tripple hi-low pressure to cooling fan computer |
| 22 Yellow - Red | to grey connector pin 25 |
| 23. Blue | Auto gearbox indication "L" |
|  |
 |
| 1. | N.C. |
| 2. Brown | Ground (for exh. temp etc) |
| 3. Yellow | +12 v for auto gear indication |
| 4. Green - white | Stop signal from footbrake |
| 5. | N.C. |
| 6. | N.C. |
| 7. Yellow - Green | Water temp for dashboard |
| 8. Pink | Speed signal |
| 9. | N.C. |
| 10. Black - Blue | Start signal for circuit opening relay |
| 11. Black | Tach signal for combination meter |
| 12. | N.C. |
| 13. Green - Black | exh. temp sensor CCO check box |
| 14. Red | 'P' signal auto gearbox indication |
| 15. White | 'N' signal auto gearbox indication |
| 16. Violet | 'D' signal auto gearbox |
| 17. | N.C. |
| 18. Brown | Ground for ECU etc. |
| 19. Grey - Green | Check engine light 'W' checkbox |
| 20. Yellow - Blue | Exh. temp warning light |
| 21. Yellow - Black |
|
| 22. Grey - Green | Check engine light |
| 23. Yellow - Red / Yellow - Black | Oil pressure switch |
| 24. Black - Red | Back up lights + 'R' signal |
| 25. Yellow - Red / Yellow - Blue | To white rect. connector pin 22 |
|
At the fusebox, there is another connector to power the whole engine and ECU. This connector has 12 pins:
| 1. Black - Yellow | +12 v EFI unswitched |
| 2. Black - Orange | M-REL EFI main relay |
| 3. light green | OPT, water sensor in rad |
| 4. Blue / Blue - Red | A/C speed sensor |
| 5. Black - Red | +12v EFI switched |
| 6. Black - Red | To temp sensor in rad |
| 7. Brown | ACMG from ECU to clutch |
| 8. Light Green - Red | A/C speed sensor |
| 9. Blue | A/C magnetic clutch from relay |
| 10. Yellow - Green | Charge warning light alternator |
| 11. White | AM1, ALT + |
| 12. Black - Yellow | to Alternator from engine / gauge fuse |
|  |
The approach we did with the wiring harness has a few pro's and con's. There are three good points on lengthening up the harness only. One is the simplicity; you don't have to care about soldering in your 7M dash connectors, the second is you get all 1JZ connectors in the car, which results in more pins. These pins can be used for aftermarket electronics (like oil temperature gauge) or the predefined function, which can result in extra gauges or lights (like the oil pressure switch and the oil level light). The last thing which votes in favor of lengthening up the harness only, is you can still drive around your 7M while you work on the engine swap; you don't need the dashboard connectors. In case you are going to buy my harness from SupraSport.Com or from my own online shop, you can exchange your old harness after you have done the swap, so this is not a real problem.
There is only one real problem with putting in the dashboard connectors on the MA70. You really have to remove the complete dashboard from the car and then solder in all these connectors. This is just an awful lot of work, but again, it pays off. I would vote this as the best option, unless you don't care of having your car grounded for a few weeks, or if you would like to be able to build it back in the original status. |
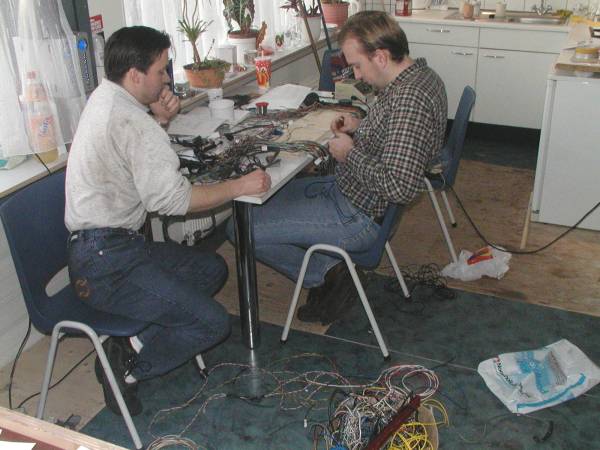
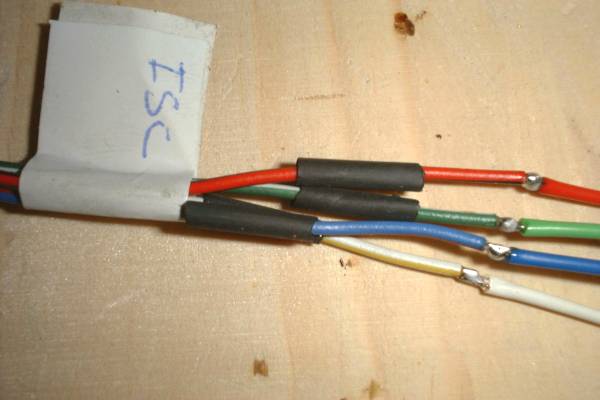
 | when making the cuts and the connections, always use proper soldering technique. Label the wires in groups and use the correct size shrink wrap to isolate the connections. Don't cut the harness at one place, cause this will result in a big bump somewhere. Cut in various places. If you don't have the skills to make such a harness, buy my harness at the online shop or at suprasport.com, or buy Mike Urbano's harness which is very good also! |
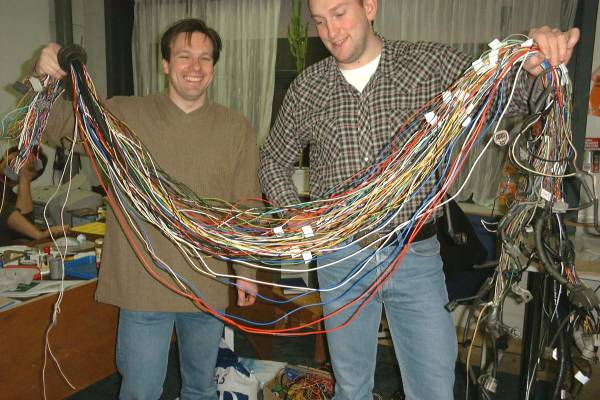
| Here you see the harness finished. Marcel (on the left) and me on the right. He's already smiling which means he starts to believe it is going to work! We're going to tape the harness in it's form when it is on the engine. This is easier than taping it beforehand, cause you always have to put it in some bends or directions. |  |
 | After the harness is lengthened up, putting it back on the engine is needed for getting it back in it's form. When everything is in the right spot, you can tape it back. We've changed the fuel injectors of the 1JZ engine from those of the 2JZ export engine (550cc). These injectors are low impedance so we had to wire in the 7M resistor back. Two injectors are fired up in a batch, in the same way the 7M used the injectors. |
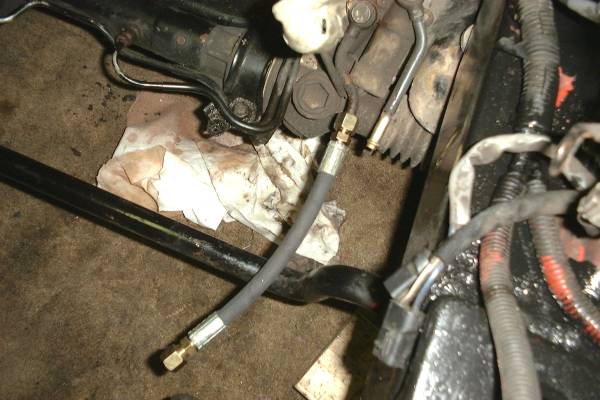
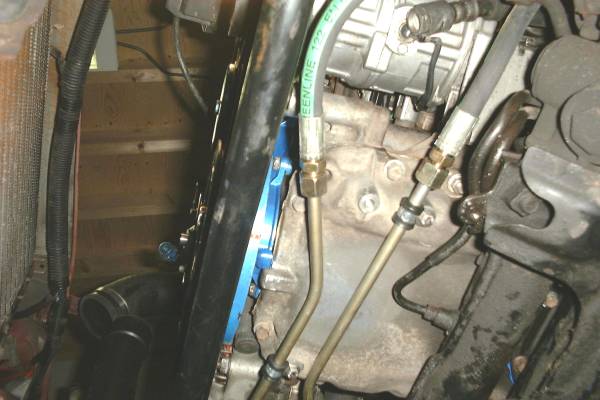
| One of the main things to adjust is the power steering system. On our cars the steering wheel and thus the power steering connections are on the left hand side of the car, while the 1JZ cars have the connections on the right hand side. You can use the power steering hose of the LHD JZA80 models, but you can go to a local hydraulics shop and get some clamp connections also, like in the picture. |  |
 | We bought the JZA70 with an automatic transmission, but we have changed this to manual. For a manual swap you need the JZA70 manual bellhousing which bolts straight up to the R154 tranny MA70 tranny. A new flywheel is needed also, which can use the stock clutch and stock pressure plate. A new tube for the clutch is needed also. All these parts can be sourced via me or at suprasport.com |
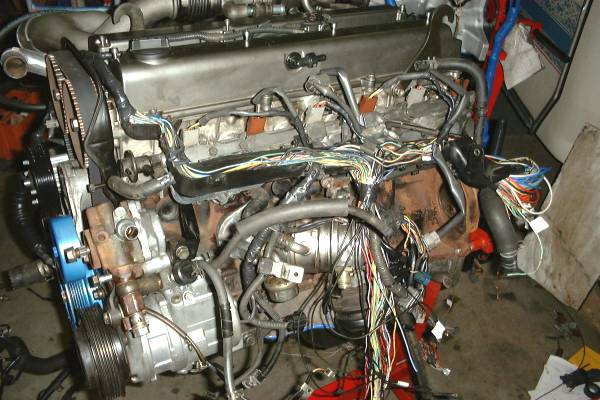
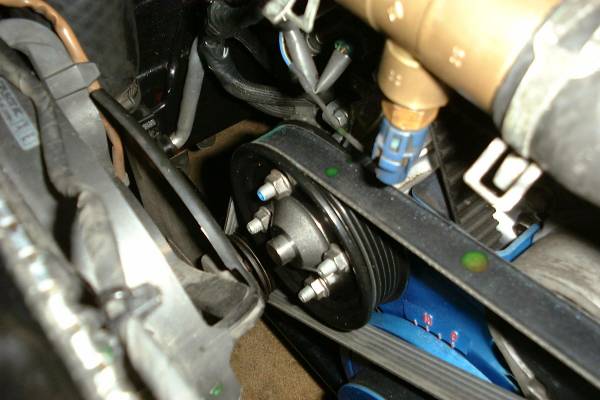
| Putting the engine in the car can be a real pain. It is a very tight fit, but it DOES fit. Assuming you have the late model round engine mounts and the correct crossmember, otherwise you have to swap that over also. |  |
 | Here you see a good picture on the clearance on the rear turbo. Remember my own car, the 2JZ? That twin turbo system does not fit in the car, but this 1JZ is a very very tight fit, but it does fit! |
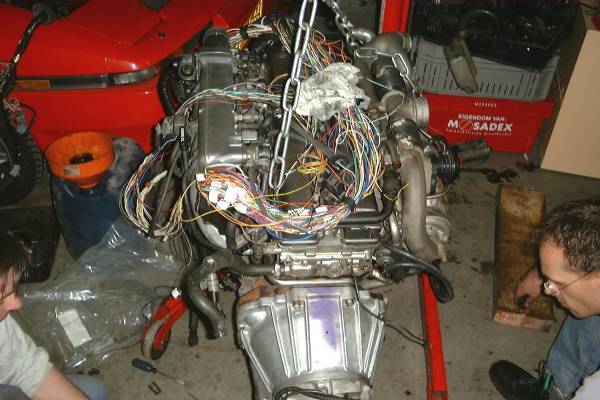
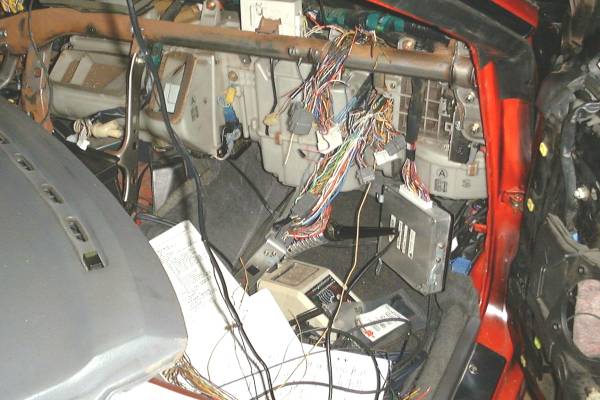
| This is a snapshot of what is required to get the dash connectors installed in the car. Again, this is not how the regular suprasport.com / supras.nl harness will look like, this just prevented us from having the car off the road for longer than a few days. And we had a lot more signals available for all new gadgets and gauges. Again: this is for the advanced electronics guys. I really advice you to either build your own harness with the 7M dash plugs, or buy one from me or Mike. |  |
 | Under the JZ engine, we have mounted a little metal pre cooler, which is used for getting the PS fluid from left, to right and back to left, so it can come from the bump to the steering rack. Again, you can use the JZA80 lines, but these are about 250 dollar from the dealer, while our setup was only 50 dollar or so. |
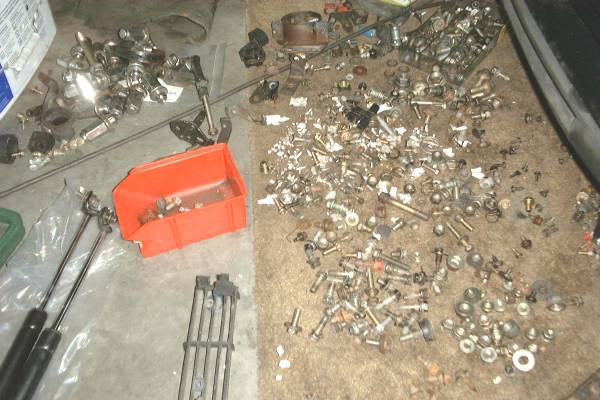
| One good thing of stripping a car is you have a lot bolts left. Look at this!!! |  |
 | Here you see a good picture of the JZ throttle cable we used. The cable is off the JZA80. Not a perfect fit if you ask me. This swap is advised by everyone on the mailing list, but I would make one myself, just as I did with the 2JZ swap on my own car. |
| The harness I make uses the JZ fusebox connector. This connector has the wires for the alternator also, so you can remove those from the car and solder them to the other connector on the car. As you see we've adapted the 'M' engine fuel injector resistors also, as we switched to 550cc injectors. |  |
 | On the JZA70 the condenser fan is driven with an oil pump which is connected to the waterpump. We've replaced this pump with the water pump off the 2JZ-GTE engine. This engine has a clutch driven fan. The electric fans (we use two big fans, so no clutch fans are needed), are driven with the blue temperature sensor of the 7M engine. Works flawless. I haven't figured out how the fan ECU and the temp sensor in the JZA70 radiator works yet. |
| And the final picture: After the swap |
| And a picture on the 'before': |
| That's it. All was done in a few days. We did the full body swap also, the car is now red with all black body panels. We're waiting for the paintjob!!! |