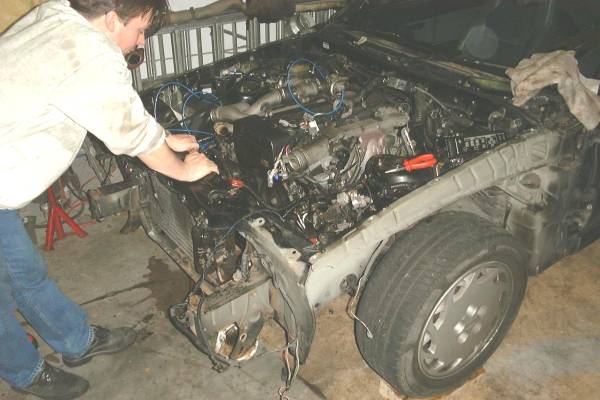
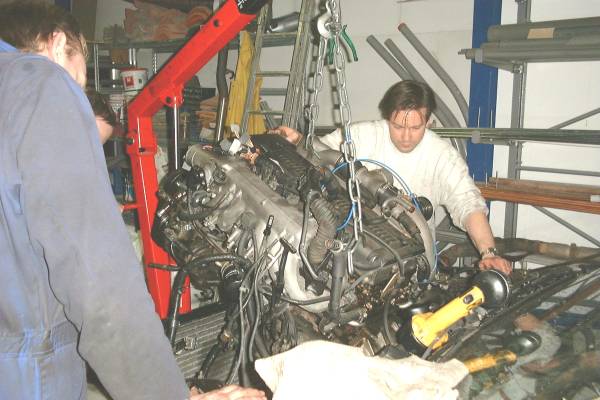
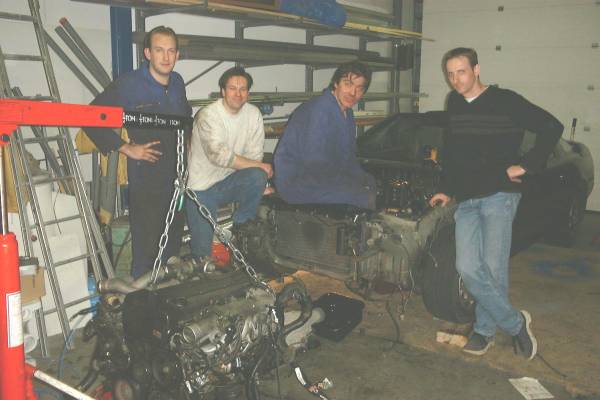
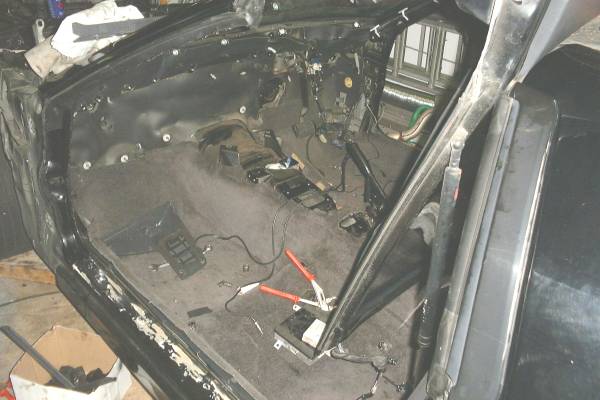
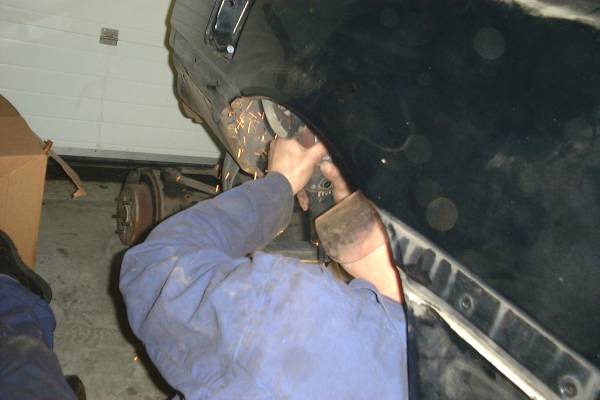
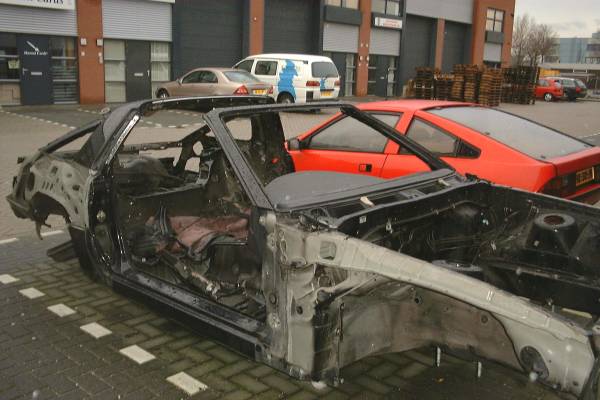
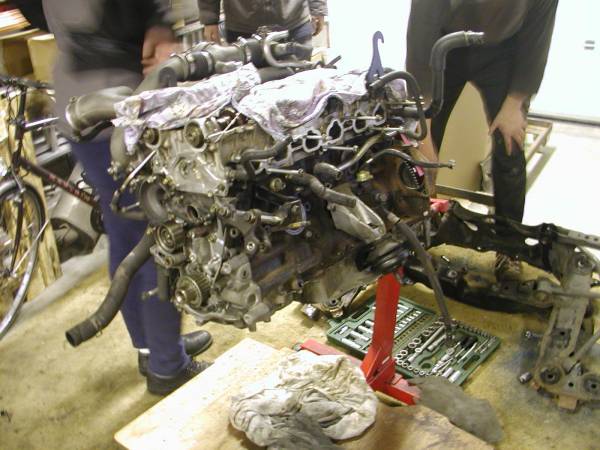
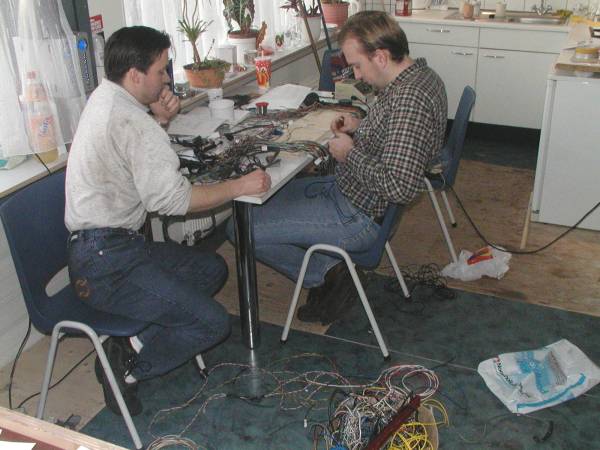
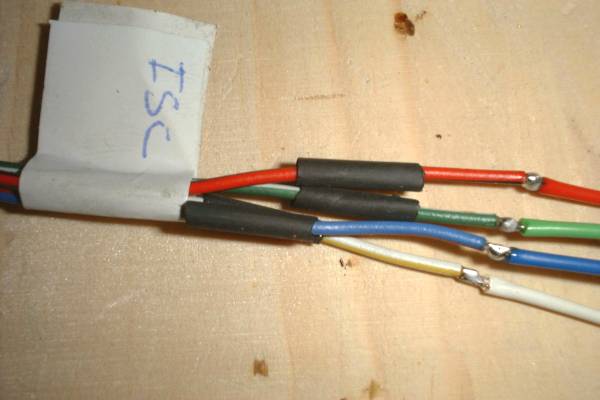
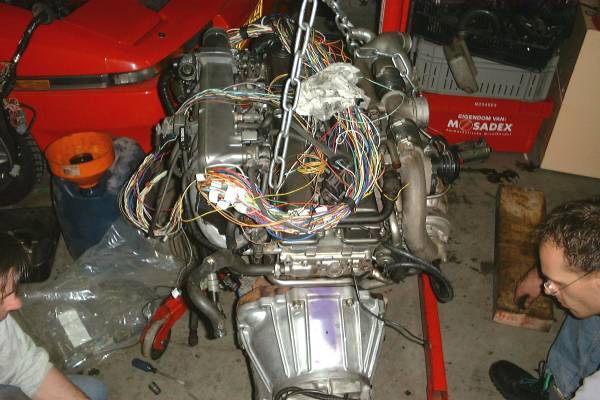
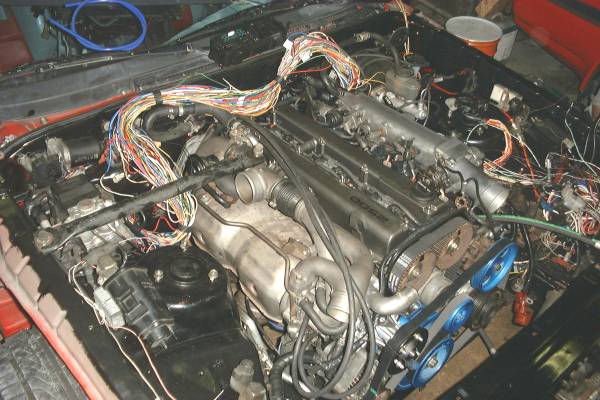
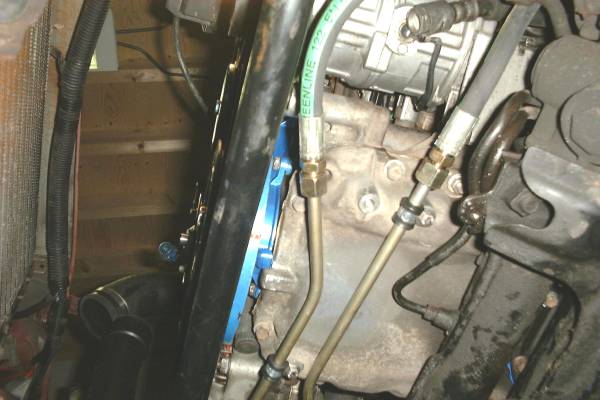
Now we have to fab the transmission mount. Frack! One more test fit. We were getting good at swinging the engine in and out. While the engine was in on the previous test fit, I notice the tranny mount holes were only a few inches away from the stock support holes. We had to hammer a small dent in one of the tunnel ribs to fit it comfortably. I ended up making two simple, two-hole brackets that fit the rear mount on the tranny in a vee shape. Then a plate with the four-bolt pattern of the tranny mount brace, and welded some 3/8" bolts x 4" long to make studs. I cut up a rubber mat in 5 or 6 rectangles and drilled that pattern in them. Adjusting the number of mats sandwiched up raises and lowers the transmission end. After testing fit or two, we tack welded the plate to the brackets, unbolted it and finished the weld. Simple and free.
In my opinion this placement can't get any better. We pushed the engine back and down, and the shifter is in a much more comfortable position. The crank pulley was a bit too close to the anti-sway bar. As soon as the car was lowered back to the ground, the sway bar pushed down and plenty out of the way under the car's weight. The rear turbo sits, about a 1/4" away from the rear bay wall. Thankfully the fuel lines sorta line up. The steering column is in the clear. Since I took the A/C out, there’s plenty of arm space on the side of the block to get to the mount bolt. However, it's still a little tight up front. Looks like I'm going to have to go with pusher fans instead of pullers.
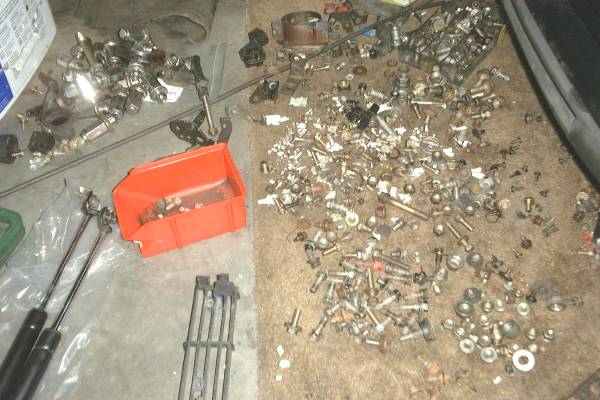
OK, let's pull it out (see: again?!). It's time to paint. Again, Silver "Hammerite" to save the day. With the engine bay stripped bare, the headlight assemblies apart, it makes it easy to get in those hard to reach areas. I gave everything one last scrub with grease dissolver and a pressure washed bath. I wanted the steering column, brake and clutch boosters black. So I pained them first and masked them when they were dry. I took the approach to paint everything. Cross member, mounts, power steering rack, hard lines, suspension arms, and even into the tranny tunnel. I especially went rust hunting under the car for random spots. After painting, the engine bay looked soooo sweet. Clean and bright. I also painted the headlight hinges and the underside of the hood to match. I painted the wiper motor black to balance the color with the brake booster.


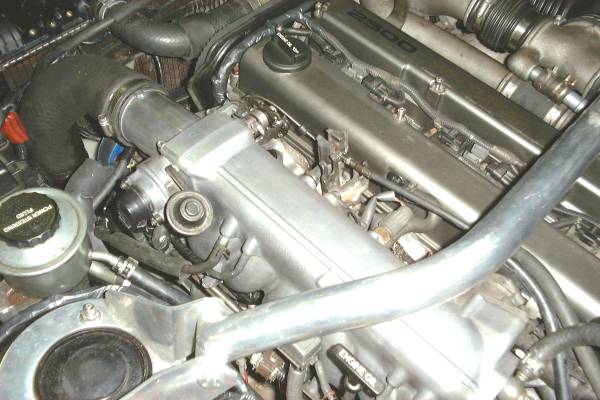
Now the let's paint the motor. The 1JZ valve covers were a little weathered. I figured it would look sweet color matched to the bay. With the covers off, this gives me a chance to pull the spark plugs and replace them. Also to get more dirt out of the corners. I painted the center vented cover black to separate the two covers. I also painted the cam gear cover, but I like the exposed cam gears look, so for now that cover stays off. I systematically disconnected all hoses, to clean and inspect them. Also exposing more areas to clean. I took advantage of this time to sleeve every hose I could with hose braid. Most hose braid kits come with fancy aluminum hose clamp covers. I found these things useless. They're hard to work with and you only have a few of them in different sizes. I found taping the ends of the hose braid with blue colored tape looked much cleaner. You can buy bulk hose braid thru an industrial supply distributor like McMaster.com for cheap. Braiding all the hoses were a challenge, but the extra work will be worth it in the end. When I get the rest of the line plumbing figured out, they'll get the treatment too.


I also took this moment to change the oil. The filter looked used. Yeah, check out my JDM oil filter. A stock 2JZ or 7M filter is a direct replacement. I'm sure the boys Driftmotion changed the oil when they switched sumps, it's just a good idea (also to know for sure). I installed the clutch fork and slave cylinder. It was a little tricky, but much easier to do while the engine was out. I liberally lubed the shaft before sticking it thru the hole to hit the sweet spot (he,he..). After taking some rough measurements, I needed a slightly longer clutch line to reach the MKII stock line, about 12 inches. I took advantage of the mounting brackets to keep the line out of the way for the install.
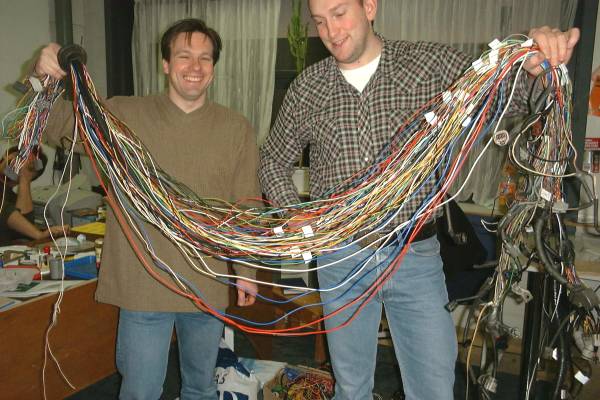
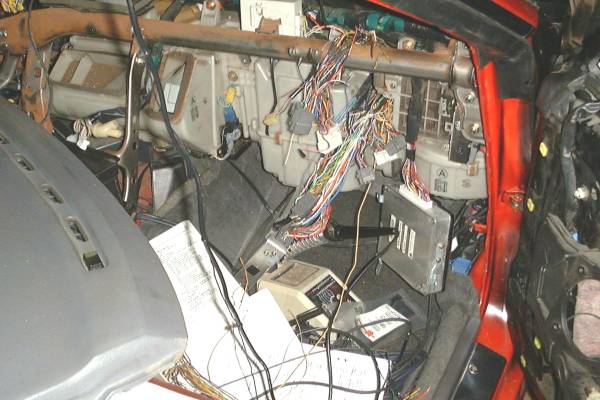
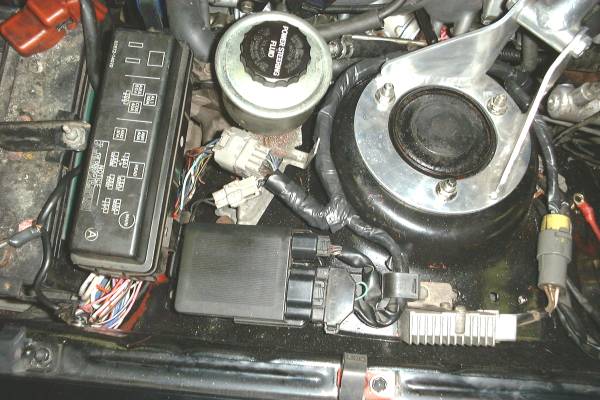
I ran down the 1JZ wiring harness again and cleaned the connectors and sleeves. I removed a lot of loose hanging tape and cable ties. I took more blue tape and re taped sections of the harness back together. I know most of this won't be used, but whatever does will look good. I did the same to the stock MKII chassis harness. Cleaned the gunk off every connector and re-taped loose sleeves. At least with that harness, I get the satisfaction of plugging stuff back together. Then I realized this was a turning point of the engine swap. Switching gears from disassembly to build. First to go back in was the OEM chassis harness for the headlights, signals, and the fuse box. The install was pretty straight forward. I used the stock cable clamps that made it thru the teardown. All the plugs line up so it’s hard to mess this up. While I was at it, I acquired a cheap pair of HID conversion headlights. It’s going to be a while till I see them turn on. Lol..


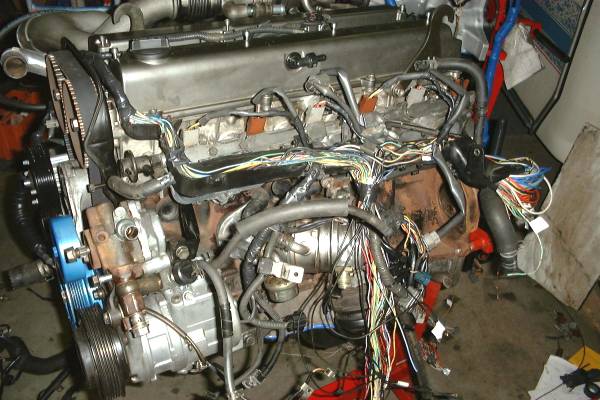
OK.. Finally the moment.. The scene they always cut to in the movies. Dropping this beast into her new home. Clunk! That was easy. There's like 6 bolts that bring these two together to form the Voltron of drifting. Man that looks good.. When we lowered the car back to it's wheels, the weight of the engine was perfect for the front cut suspension, and it leveled out nicely. I didn't notice before how low that engine really sat. It almost knee level (see: back pain).


This was a major stepping stone done, so we spent the next week standing around it, drinking beer. The first thing to put on was the shifter, boot, and knob. A two second install, and a must for daydream drifting.
The throttle cable. I had one that was too short, and the other that was way too long. I figure the best approach is to cut the longer one to fit. I had to cut the cable clamp at the fire wall end and pull the steel cable thru. I set up the throttle body end and ran it to the firewall and cut it to size. I cut the fire wall mount end off my shorter cable. I hooked it up to the throttle body, and ran the steel cable thru both halves. I simply tapped the cut end of my new cable sleeve to the stock fire wall mount, the braided cable holds it centered. On the inside of the cabin, I took a 3/8" bolt with two nuts (he, he) and created a cable lock. I drilled a cable sized hole thru the bolt and squished the cable with the two lock nuts. A bit bulky, but works great. The pedal pressure was way light because of the shorter cable. So I unbolted the pedal spring clamp from the firewall and gave it an extra flip to add one more sprint winding. Then I bolted it back under some serious tension. An easy way for a stiffer throttle pedal, with some improved response.
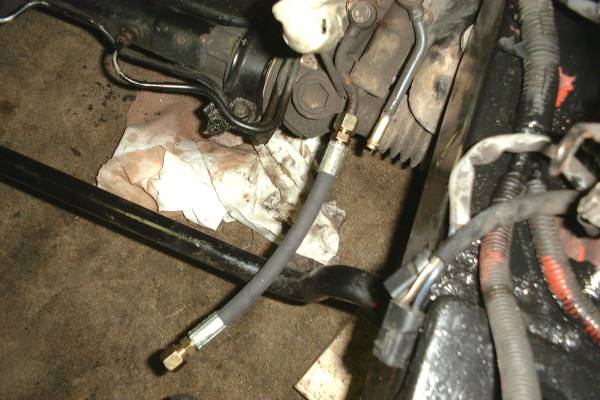
The brake system was never disconnected, so through the swap, it helped with moving the car around the garage. So that's two pedals down, one to go. Making the clutch work was fairly easy. Since I got the longer hydraulic line, it was a nice relaxed bend to connect it to the stock fitting. My stock clutch slave cylinder was leaking badly, so I found a cheap OE replacement on Ebay. Bleeding the system is a two person job. Blamo.. Three working pedals. The clutch fork completely lifts, and the shifter moves smoothly.
With the engine filling up the bay I can really study where things need to be. Fluid tanks, intercooler pipe, radiator & pipes, fan, and power steering all need to be custom mounted and routed. I spent some serious time into sketching out hose & pipe routings.

I decided to attack the front stuff first.. The Radiator, Intercooler, and the fans. I wanted to have the biggest radiator that I could fit into the frame members. I took some measurements, and subtracted some for working space. This is where sketching all the hose routing really helped me. Identify the coolant outlet and inlet, and imagine the inlet and outlet of the radiator. Most configurations I’ve seen for the 1JZ is the radiator inlet on the top drivers side with the outlet on the lower passenger side. My engine doesn’t leave that much room up front. I took the unusual approach to put both ports on the passenger side. Mostly because both engine ports are on the passenger side and it seemed like a shorter travel distance. I found a universal 3” core aluminum radiators online, and they welded both ports on the passenger’s side on request.
If I was smart I would have requested the ports to be the same diameter as the ports on the 1JZ engine.
Thus begins the saga about the radiator that could. When the radiator arrived I eagerly thru it in the bay. It was a nice tight fit from side to side, but it didn’t leave room between it and the engine. About 8 inches. That’s some seriously tight bends for a radiator hose. Then I realized, it sat extremely high, and there’s no way the hood would close. Crap’o-la! And, to top it off, the elevation of the inlet port pointed directly into the intercooler piping’s flight path. I’m too stubborn to send stuff back via mail, then wait with a barrage of e-mails and phone calls, then more money, then more wait. No thanks, I’ll make it fit... A tig welder is a must. Cutting the radiator neck off was step one to kill the height. The top and bottom surfaces had two veins that could be folded over to gain another half inch down. And lastly, I had to cut the extra threads off the frame bolts below that the radiator sits on. It’s such a tight fit. The hood actually hits the radiator first, and you have to muscle it the last quarter inch. Air tight baby! I wanted the biggest radiator possible and I got it. I totally had to re-think how I was going to route the coolant hoses. There was not enough room between the radiator and the engine, it was clear I was going have to hack the original radiator inlets. I got some aluminum tubing the same sizes as the 1JZ coolant inlet and outlet. It makes sense to not have many hose reductions in the system. By pointing the top inlet towards the passenger wall, it seemed to give me more room to work and bend hoses. Also, offsetting the lower inlet in the same direction allowed for a better flow around the alternator.
The final dimensions of the radiator core (without inlets) was 27”x18.5”x3”. If you do this swap, I seriously suggest not to go much bigger.. 18.5” is the absolute max height.


Since I cut the fill neck off, I’ll need an extra expansion tank to fill and check fluid levels. ..And the overflow tank. The front passenger side corner is getting pretty busy, with the intake and intercooler piping already there. I also need elevation to mount the tank. I found a cheap expansion tank for a 05 Ford Mustang that looked like it’ll do the trick. However, when I got it, of course.. it was way too big. I chopped it in half with the ban saw and had a plate welded to replace the missing wall. I got the wacky idea to mount the tank in the rear of the bay on the fender wall. Then route the fill hose thru the fender wall to the tire well, to pop back into the bay near the top of the radiator. It’s the sneak attack approach. It’s kinda far away, but that would increase fluid capacity. The only problem is that the gas spring that holds the hood rests along that fender wall when the hood was closed. So I had to make a bracket to have the tank mount about 2 inches away from the wall. Welded it all in, and spray some Hammerite for that freshy look. The chrome tanks look good in that corner.


It was clear that the top connection between the engine and the radiator was going to have to make a very tight “S” shape. Rubber hose has limitations for tight bends. They tend to fold. I thought about using connector fittings with elbow bends, but the hose diameter was huge and the fittings would be expensive. I checked out corrugated flex hose. Those didn’t seem to flex as tight as I needed, and the idea of crinkled hose doesn’t exactly translate into flow. I ended up taking some aluminum piping and cutting the angles for the tight joints to be welded. I’ve always loved the look of the welded tube one sliver at a time look, just like in the JDM tuner magazines. It turned out really nice, up front and center with the aluminum radiator for good bling factor.


The plan from day one was to go with electric fans, so I tossed the 1JZ clutch fan the moment I saw it. There wasn’t enough room up front for it anyway. I purchased twin 12” electric fans that would fit perfectly in front of the radiator. The picture shows a third fan that was given to me, but it was way too big to fit. Eventually they’ll be wired up to the EMS computer which will control them. The car’s frame and the hood latch sheet metal created a nice frame to mount fans. I also to take advantage of their slim profile. Most fans mountings are pretty universal. I took some sheet metal and fabbed up some vertical mounts and tack welded them in place. More Hammerite and it looks like it was meant to be there. I did some tests before I installed the fans. I found on these, swapping the +/- wires changes the direction of the motor, and the fan goes from pusher to puller. I did also try pulling the fan itself and turning it around, but it clearly wasn’t designed to do that. There was one flaw to my master plan.. If I ever had to replace the fans, I’d have to pull the radiator. Ummmm…


I bought two 3" intercooler piping pieces, one 45 deg & one 90 deg
sections for cheap on E-bay to use for my custom air intake. I had to trim the lengths to size, and get some 3” silicone hose couplings. Interesting note here, the 1JZ air intake port is 2.75” around, so I had to get a silicone hose reducer for the mismatch. Plug a filter on the end. Simple and cheap. I think the general rule is the bigger the intake, the better. We’ll see. I think I might have to put a mass air-flow sensor somewhere, but I’ll have to do the research to see if the EMS will need it. I’ll worry about it later. Yay, it’s shiny.

The intercooler system is the coolest part of a turbo engine (no pun intended). I bought a universal 24”x9”x3” aluminum intercooler on E-bay for a few hundred bucks. I could have gone bigger, but I decided to play it safe after the radiator incident. I also found a universal 2.5”
aluminum piping kit for another hundred. It came with (2x) 45 deg, (2x) 90 deg, (2x) 120 deg, and (2x) straight pipes. I figured if I fell short, I could always buy single pieces later. The kit came with the silicone hose couplings and clamps. It was clear, I was going to need to make some pretty tight turns at the turbo manifold and throttle body. I had to order some 90 deg angled silicone couplings to complete the parts list. It's going to take some cutting and measuring one piece at a time. But, before I got carried away with cutting all the shiny tubing, I had to mount the intercooler. I actually found a really simple method to mount it. It just so happens there’s a shelf with bolt holes under the headlight motors on each side. A simple piece of steel to stretch across the void would act as the top mount to hang the intercooler from. This put the bottom of the intercooler just inches away and in front of the cross frame member. I added two bent flanges welded to the frame to be the lower mounts. I had to do some adjustments to get the intercooler ports to be in the clear for the tubing attachments. The tubing has to really hug the car for the needed ground clearance. I had to cut off my cool tow hook extensions and the flanged they attached to under the front members for tubing clearance. After cutting one tubing piece at a time, and numerous test fits, the whole system eventually came together.


The blow off valve is a must. Swoooooooch! I parked it right in front of the throttle body for, I hope, a faster response. Again, another no-brand cheap buy off E-bay. If it sucks, I’ll replace it later. We’ll see.

I bought a yummy chrome fluid tank for power steering. I believe stock 1JZ tank would work fine, but I wanted to add some extra capacity with a bigger tank. Plus it adds some cheap bling. I started by bolting the tank to the driver’s side of bay right in front of the chassis fuse box. It seemed a logical place, close to the pump, and halfway between the steering rack and cooler. I created a duel core power steering cooler from both stock 5M and 1JZ engines. I don’t know if it’s necessary, but I figured the more cooling surface area the better. I mounted my
creation on top of the intercooler mount. It should get plenty of air up there. The hose routing was pretty straight forward. From the tank, thru the cooler (twice), into the pump, then to the steering rack, then back to the tank. The only hick-up I found doing this is that the pump intake uses a .75” hose, while everything else uses a .25” hose. I just had to find a hose reducer fitting to make the connection. I won’t know if the system really works until I can power the pump with the engine. Such a huge reduction in hose really doesn’t scare me because both stock systems use a huge diameter hose to go a short distance from the tank to the pump. I’m using a smaller diameter hose to go a much further distance. In my head, the calculated volumes of flow are similar.. We’ll see how the pump likes it.


Exhaust systems are always an expensive buy. Nor would there be an aftermarket kit that would route it exactly how I need. I’d have to start collecting parts for a cheaper custom system. Since I plan on going with an EMS, I don’t have to run a restrictive catalytic converter. I took some measurements and went down to the local muffler shop to get some 3" steel tubing. The huge tubing will naturally produce a very bassy tone and increase gas flow. I got 16ft for about $80. I had one 6 ft section bent to about a 120 degree angle off center, so it had one leg longer than the other. This would be my down-pipe. The cool thing about the stock 1JZ turbo manifold, is that it exits out a single port. No need for multiple pipe unions or headers. The one thing that was tuff to find was the stock 3 bolt pattern exhaust flange. The dealership doesn’t sell just the flange, and apparently, it’s kinda a rare bolt pattern and a special order for most muffler shops around here. I ended up calling up the boys a Driftmotion again, and they cut one off a spare stock system and shipped it to me for fairly cheap. I had to
go to the Toyota dealership to get the exhaust gasket crush ring. I combed E-bay for weeks looking for a decent muffler. I wanted get a cheaper muffler, but I had to steer away from the cheapest farting “race” can designs. I went with a medium sized 2.5” carbon muffler with the titanium tip flamed tip. I looks hella sweet, and should provide just a bit of back pressure thru the system. I won’t know how this thing sounds till the car’s ready to turn over. We started with the downpipe, and cut one of the legs to size to tuck it nicely under the car. Marked and welded the flange on the end. I figured there were very few bends we had to make. We didn’t have a tubing bender on hand, so we cut the pieces at slight angles, tacked and welded them one at a time, till we snaked to the rear of the car. The frame had a nice round notch already there for the stock system, so we didn’t have eat up that much ground clearance to get around the axel. We fabbed up few hangers to support the rear weight and absorb engine swing. The muffler landed perfectly under the body kit, and the whole system hung close to the car. Can’t wait to hear it.


I don’t plan on going real big with the horsepower. The stock 1JZ is almost twice the engine my old 5M. The anticipation is killing me.. (he,he) Anyhow, I do want to take advantage of simple bolt on power adders. The bigger intake and exhaust will help. Most tuners know the next best place to unlock extra power is in the timing. Hotter cams and adjustable gears have huge potential for power gains. Adjustable timing gears are the cheaper solution to more horsepower and are an essential component for ultimate tuning. Up to this point, I’ve been preaching pro-budget, no brand, and universal. However, in this case, I believe it’s better to drop more cash for quality parts. It’s such an important element in the engine’s function, if anything were to break, or slip your engine is toast. Since 2JZ timing gears fit the 1JZ, shopping wasn’t hard. I decided to go with a GReddy adjustable timing gear set with a new belt. GReddy is a big player in the tuner world, with HKS. To me, the name represents quality. Plus, they’re blue. Installing them, was a bit of a challenge. Naturally, I decided to do this after the engine is in the car. The two cam bolts came off easy, but the crank bolt was totally seized. It was difficult not to have the crank turn while you wrenched on the bolt. Most people will jam the fly wheel with a screwdriver or something. I ended making a tool to grab four holes in the first crank pulley, with access to the crank bolt in the center. With two guys, with two big-o breaker bars, and some thread un-seizing spray, we convinced it to come loose. For a while, I was doubting myself which way to turn the bolt. I took extra care not to mess up the timing during the pulley/belt exchange. This is one of those things, where you won’t find out that you screwed up until you go to start the engine. It’s a good sign that I can turn the crank a few rotations without any kind of interferences. For now, I’ll chalk that up on the “we’ll see” list.
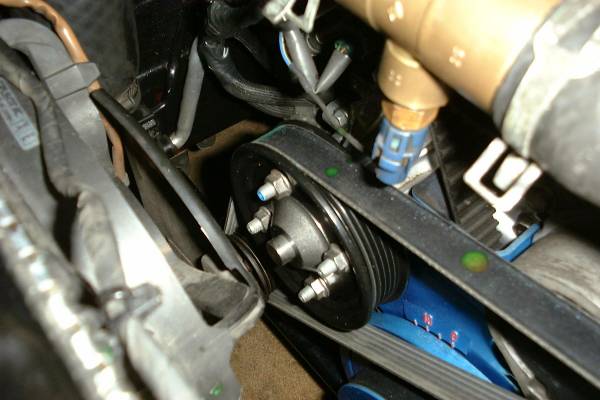
The new gears and a timing belt made the rest of the pulleys look like shit. So I decided to splurge a bit, and go with matching GReddy blue pulley kit. Aside from looking nice, they’re way lighter than the stock pulleys. They’ll also eeeek out a few more ponys and increase engine response. I know I didn’t want to spend that much money to “bling” out the engine, but these make me smile every time I open the hood.


Grab a tape measure, and go 28 inches to the floor, and realize how low this engine sits.

So now I increased the air flow in and out of the engine, now I need fuel. I doubt the stock 5M fuel pump can feed the fuel hungry 1JZ. Luckily, it’s an outside the tank pump, which makes for easier access. A universal Walbro 255L/hr (GSL392) high pressure fuel pump will replace the old tired unit. The stock system uses 5/16” hard line (8.0mm), but the hose will barley fit the larger inlets of the pump. I went to the auto parts store and bought a cheap simple fuel filter with 3/8” inlets. I wanted something cheap and easy to find to replace frequently. Naturally, the hose coming from the tank was a 1/2” ID hose. So I had get hose reduction barbed fittings from 1/2" to 3/8” to connect the system. I planted the fuel filter right in front of the pump, so fuel from that point on should be clean.
At the front end, I had to connect the fuel input and return lines. The car has 4 hard lines that travel down the length to the rear. Trying to follow them by eye is uncertain because they switch order around bends and weave above the transmission as they approach the front. From the rear of the car I deduced that one hard line was the breaks, one was fuel outgoing, and two were fuel return. The old 5M had one return from the rail and regulator, and the other for the HVAC charcoal canister on EGR system. Damn those horsepower robbing emissions systems, and their extra fuel returns. I simply capped that one. Anyhow, I had to blow thru the fuel outgoing line to make sure I had the right hose at the other end. Unexpectedly, it blew out old fuel left in the line. Hmmmmm I think back to all the times we had torches, welders, grinder sparks, and open flame down there.. I hooked that up to the main input line coming out of the 1JZ block. That hose is close to 1/2" ID, so again I had to get the 1/2” to 3/8” hose fittings. I’m not quite sure what the side affects are from all this reducing to enlarging hoses will be.
One of the biggest horsepower adders are new injectors. Supra size the dump of fuel into each cylinder. I tried to do some research to find out how many cc’s the stock 1JZ injectors and found varied results of 480cc, 460cc, and 420cc. Ebay’s standard 1JZ injector sizes were 550cc, 680cc, & 770cc. I did some basic injector sizing calculations I found on the internet, based on my targeted horsepower range. It seemed the 550cc would be the best choice for me. Since I’m not going for crazy high horsepower, and I don’t have a fatty TO4 turbo to feed, the other injectors would be too much and fall below their 80% duty cycle for efficiency.
I wanted to go with an aftermarket fuel pressure riser/regulator. Mostly for the ability to crank up the incoming fuel pressure, and take advantage of the new pump and the injectors. I found a shiny blue one on Ebay that just happened to have 3/8” fittings. The stock 1JZ regulator is screwed into the end of the fuel rail, with a M12x1.25 thread. To replace it, I’d need to connect a hose to the end of the fuel rail en-route to the new regulator. It’s impossible to find a fitting with that M12 thread for a 3/8” hose. So I had to make one. I got a 3/8” barbed brass fitting with a standard 3/8”-NPT thread, which actually measures over 1/2". With some basic lathe skillz, I turned the threads down to 12mm, which left a smooth shaft. Then I got a M12x1.25 die for $6 and hand turned my own threads back onto the fitting. It worked great, a nice snug fit.
When I started the fuel upgrades, I thought about getting an aftermarket fuel rail, and top feed injectors, plus the regulator. But after a quick price study, I figured I’d stay with the stock rail, and cheaper side feed injectors. With the rail out, it was sent for a quick trip thru the sandblast booth. It came out looking brand new (Thanks Dave!) With it all apart I was surprised to see how simple this whole system was. It didn’t take me long to throw it all back together. It seems easier when everything is clean. I rigged a simple bracket to mount the regulator, and ran the hose from the rail to the it’s input. I connected the output hose to the fuel return line. Finally the vacuum line, and I’m done. Let’s hope there’s no leaks when the system gets pressurized.


I ended up changing out the dial gage because the original was cracked, it’s upside down.. LOL..